Most apps on the market require audio features, so it is useful for developers to know how to implement them. In this blog, we’re going to show you how to add an audio player in Flutter (with code examples).
Flutter audioplayers package
You can implement audio in Flutter by using the audioplayers package which supports both mobile platforms – iOS and Android. The package is compatible with web platforms, and it supports the following sources of audio:
- Remote files on the Internet
- Local files on the user’s device
- Local assets from your Flutter project
- Audio in the form of a byte array (in Flutter, Uint8List)
Adding platform specific code
Audioplayers package does not require any platform specific code. But if the application will play the audio from a remote file on the internet and if the source file is loading from non-https sources, some platform specific code should be added. The iOS system forbids loading from non-https sources, so inside the .plist file you should add this code:
<key>NSAppTransportSecurity</key>
<dict>
  <key>NSAllowsArbitraryLoads</key>
  <true/>
</dict>Same thing applies to Android – there is a restriction not allowing traffic from non-https resources. In order to allow it, inside the application tag in Manifest, this line should be added:
android:usesCleartextTraffic="true"That’s all you need to do if you are loading audio files from non-https sources.
How to configure audio player states
There are three main states of an audio player – playing, paused and stopped. In addition to monitoring the current state of the player, it is also necessary to have at least two more attributes – duration and position. Both attributes are a type of Duration – span of time – it represents a difference from one point in time to another. The Duration attribute is used to calculate the entire duration of the audio, while the Position attribute is used to determine the current position of the audio player.
For playing local or remote audio files, play() method is used. For remote audio files, if there is no need to resume the playback, it is better to use setUrl() method. For playing local audio files, isLocal parameter should be set to true (it is set false by default and it is not a mandatory parameter).
If there is a need to play audio for a longer period of time, flag stayAwake should be set. In order to use the stayAwake option, Android users need to add WAKE_LOCK permission in Manifest.
How to implement audio controls
All UI controls (play, pause, stop, resume) can be implemented with any available widgets, the only requirement is to implement detection of user interaction with the widget in order to trigger the control of the player.
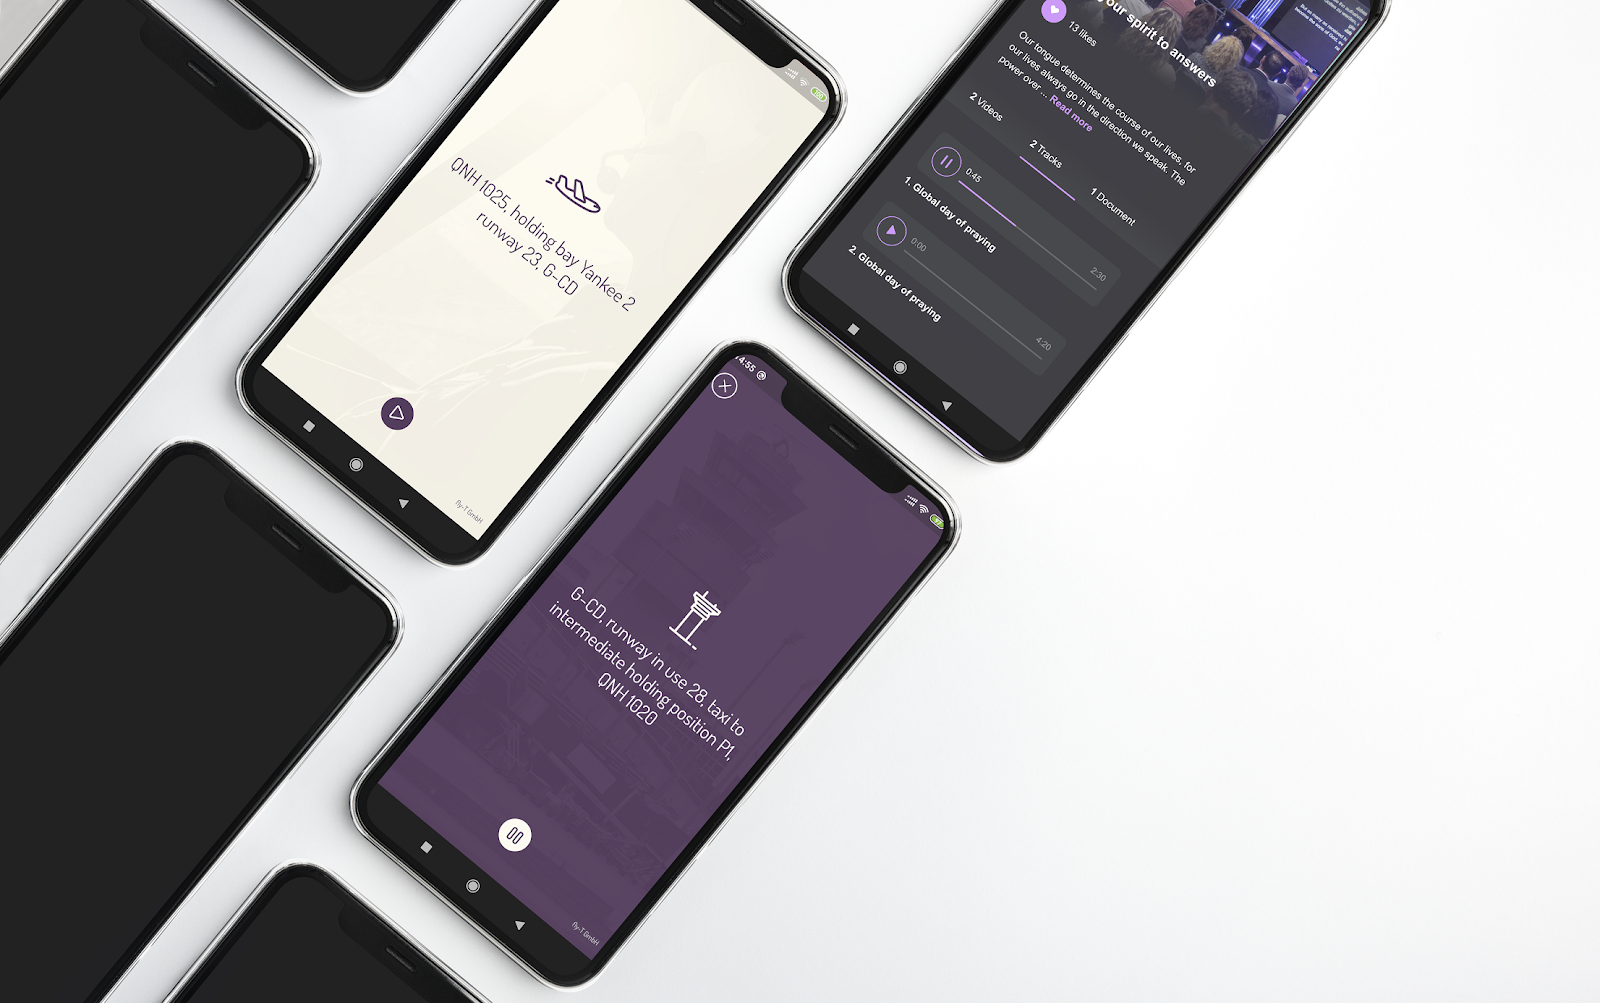
Main controls are usually made with various icons or buttons and every control is triggered by clicking on the defined icon or button. The first important step is to initialize the audio player. After successful initialization, we need to set the audio file to the player. Also, in the overridden initState() method we define three StreamSubscription methods which we need in order to successfully monitor and edit the current state and settings of the audio player.
StreamSubscription is a subscription (listening) on events from a Stream. The subscription provides events to the listener, and holds the callbacks used to handle the events. The subscription can also be used to unsubscribe from the events, or to temporarily pause the events from the stream.
In our implementation, one StreamSubscrption is used for defining the duration of the audio, one for monitoring the current position of audio and one for monitoring the current state of the audio player. All defined subscriptions should be canceled in the dispose() method in order to stop receiving events.
If the same widget is used for controlling the play and pause functionalities, then the icon of that widget should change depending on the current state of the audio player. For that we use _isPlaying attribute which returns the current state of the audio player – if the player state is equal to the value of playing. Also, based on the value of the attribute, we can control the audio player and call the appropriate method.
IconButton(
 onPressed: _isPlaying ? () => _pause() : () => _play(),
 icon: SvgPicture.asset(
   _isPlaying
     ? AppConfig.of(context).images.ctrlPause
     : AppConfig.of(context).images.ctrlPlay,
 ),
),In order to support seeking, Slider widget should be implemented. It is a fully customizable widget. All Slider designs can be modified inside the SliderTheme widget. This widget has a few important attributes: min, max, value and a callback onChange.
| min | The minimum value the user can select. Defaults to 0.0. Must be less than or equal to max. If the max is equal to the min, then the slider is disabled. |
| max | The maximum value the user can select. Defaults to 1.0. Must be greater than or equal to min. If the max is equal to the min, then the slider is disabled. |
| value | The currently selected value for this slider.The slider’s thumb is drawn at a position that corresponds to this value. |
| onChange | Called during a drag when the user is selecting a new value for the slider by dragging.The slider passes the new value to the callback but does not actually change state until the parent widget rebuilds the slider with the new value.If null, the slider will be displayed as disabled. |
Slider(
 min: 0,
 max: _duration.inSeconds.toDouble(),
 value: _position.inSeconds.toDouble(),
 onChanged: (value) {
   setState(() {
     _audioPlayer.seek(Duration(seconds: value.toInt()));
   });
 },
),Play that funky music
Congratulations, now you know all the basic functions of the Flutter audio player. Time to play some music!

Stay tuned for more related features in our upcoming blogs on Flutter development.


-
Instagram
-
Linkedin
-
Facebook
info@samurai-digital.com